Saturday, February 26, 2011

old silverware easels


Stick a Fork In Me

by LINDSAY on FEBRUARY 17, 2011
Last week, I took a whirlwind of a trip to New Orleans so that the fine folks at Rust-Oleum could show off their new Transformations products to me and a handful of other Bloggers.  I think the new products are really, really going to change a bunch of people’s lives (or at least the lives for their kitchens), and I will be sharing all about them very soon.
In the meantime, I want to show you a little craft I picked up while I was in the Big Easy.  During our Welcome Dinner, my friends at Rust-Oleum used the most adorable place card holders on the tables.
They used real place cards, not business cards.  But, alas, I forgot to bring my place card home with me to demonstrate.
You should have heard us squealing in delight.  Then, when we were told we could take them home, we acted like we were just given diamond rings.
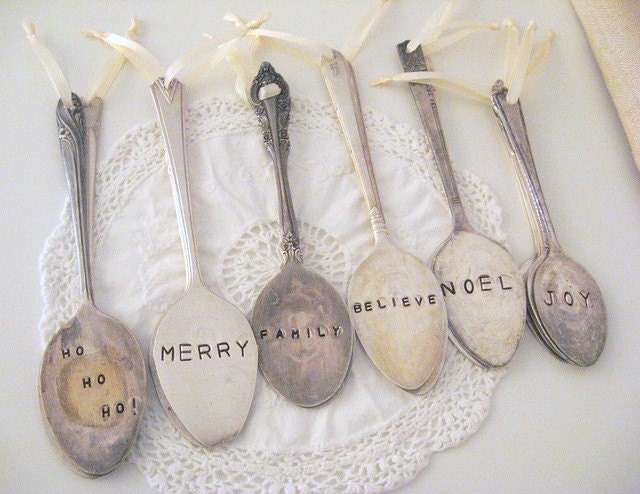
I have no idea where they bought these cute fork place card holders, but I think they would be adorable for business card holders, recipe card holders, photo print holders, and everything else in between.  I knew I had to figure out how to make them.  So, the day after I got home, before I even unpacked my suitcase, I ran to the antique store to buy some forks so that I could show the process to you.
(UPDATE! The original fork place card holders were made by David of the incredible shopBasilicusJones on Etsy.  Please check out his shop – I am dying over what he does with vintage flatware – and his forks are way better than mine and come at a great price.  Also?  I seriously want his spoon bracelet…)
Fork Place Card Holders
Supplies:
  • Silver Plated or Sterling Silver fork – obviously, the SP is cheaper than SS (mine were 75-cents a piece).  Steer clear of stainless steel (which you probably use on a daily basis), because it’s too hard to bend.
  • Vise
  • Rubber mallet
  • Utensil w/ cylindrical handle – I used a wire whisk
  • Pliers
Instructions:
Now, I’m sure that there are a hundred different ways to do this.  My husband, who does a lot of metal working as a hobby, was pretty flabbergasted that this was the way I decided to do it.  He said it would be a lot easier with a propane torch, but I wanted to keep the supplies limited to what my readers most likely had at home.  Do a lot of you have propane torches?  I didn’t think so.
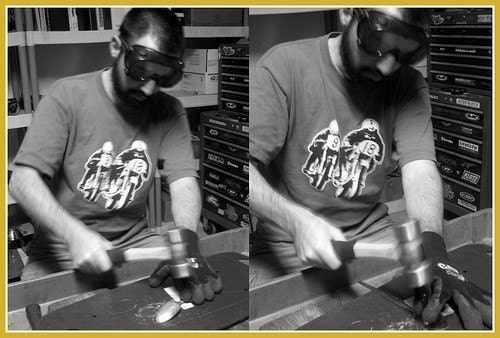
1.  To begin, I brought my vise in from the garage and set it right on top of a cutting board on my granite counter top.  Yep, I’m fancy (and am apparently lucky I didn’t crack my granite).  I put one of the forks in the vise like so:
2.  Using a rubber mallet, I hammered the top of the fork backwards into a 90-ish-degree angle.
3.  Then, I pulled the fork out of the vice about and inch and hammered that part backwards into another 90-ish-degree angle.
4.  Then, I adjusted the fork so that it was in the vice like so.  Do you see how I have my little pink footed helper in the background?  That’s certainly not a requirement, but it does help.
5.  With the rubber mallet, I hammered the handle of the fork over to the left a bit.  I know the “a bit” part is really scientific, isn’t it?
6.  Then, I stuck my wire whisk into the bend and folded the handle over so that it made a curved bend.  I was able to do that part with my fingers, so I didn’t need to hammer my whisk.
7.  Next, I flipped the fork around so the tines were in the vice and hammered the flat edge to make sure it was nice and flat.  If there’s much curve to it, the fork isn’t going to sit upright.
8. With a pair of needle nose pliers, I bent the tops of the outside tines forward and the middle tines backward.  Then, I stuck them in my vice and crushed them.
9.  Here’s where the fine tuning comes in.  I just had to bend and play with it a little bit to make sure the fork stood up straight.  I just used my fingers to do this.  Every fork is styled differently, which means it’s weighted differently, so you’ll just have to play around with your particular fork.
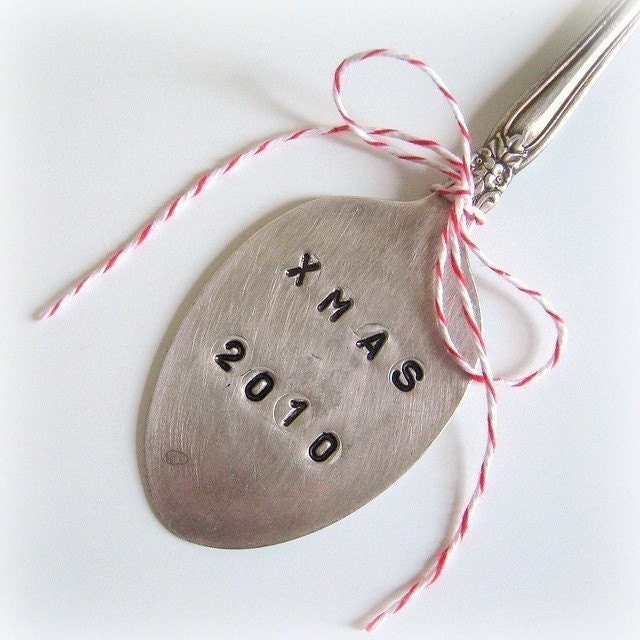
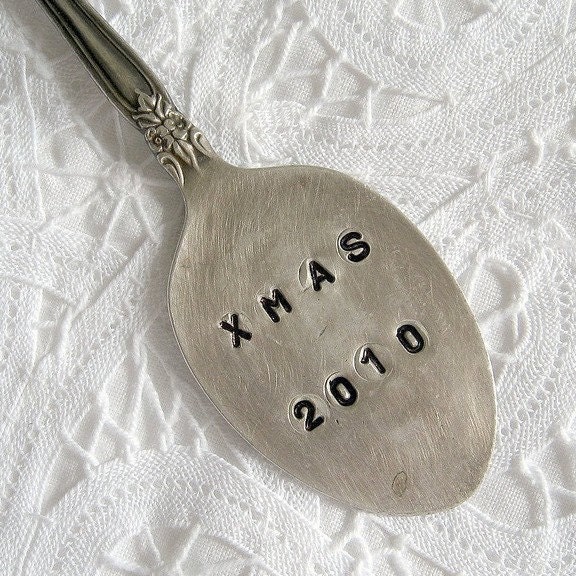
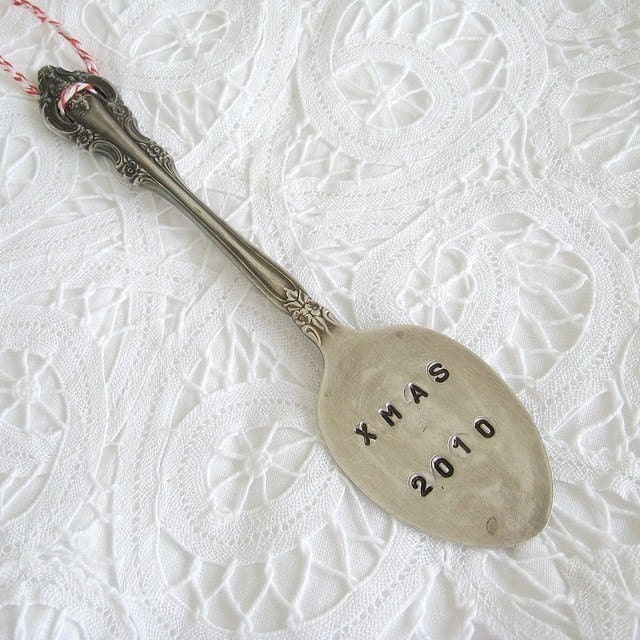
These little forks are just so fun an unexpected.  I used them to hold my 1940s vintage valentines, but they will soon move on to displaying printed photos.

Wednesday, February 23, 2011

shutter headboard


I've always wanted to make my own headboard!
So when I found some old shutters at the Habitat Store....
I KNEW exactly what I wanted to do with them! 

I lost most of my 'before' photos so I'll do my best 
to try and explain what the hubby did and used.
I've yet to conquer power tools so the hubby did most of the work.
He used
Two 8 ft 2x6 's for the frame
Two 5 ft 4x4's for the post
One 1x8 as topper
and some Crown Molding
All this wood we had on hand so the Crown Molding was the only thing we had to purchase

I'm so bummed I can't show you all the photos I took of this process:(
This headboard measures 5ft tall and 7ft 4in wide
We have a King size bed so he cut the 2 sets of shutters in half
He simply cut a groove down the 2x6's the width of the shutters about 3/4".
Then he placed the shutters down into the grooves and clamped down the top 2x6.....
no glue or nails needed for this step
Then he grooved out the sides of the 4x4 posts and screwed the framed shutters in place.
Next he screwed down the 1x8 on top
Then he made end caps with the Crown Molding and nailed in place. The rest of the Crown Molding was nailed to the top of frame and under the 1x8.
Last step before paint was to fill the end cap seams and nail holes 
with wood filler and sand.

The top is wide enough the set pictures, candles or nic niks if I so desire. 
I was torn between painting the headboard black or green.....
Green won! 
I didn't do the glazed distressed look that's very popular right now......The other side of the room has tall crisp white wainscoting and the same green painted above...(reveal coming soon)
 This headboard is sturdy and strong enough that it just stands against the wall and we pushed the bed back in place.
 My Master Bedroom Makeover is almost complete! 
another sneak peak ...........

Monday, February 14, 2011

penney buttons


Small Drill Bit

1.  I purchased my doming block from Harbor Freight.  I think it was around $25 on sale.

IMG_2156 
2.  Place the penny (heads up) into the doming block and take one of the dappers (I used #18) and hold it tight to the middle of the penny and pound away with a heavy hammer.

IMG_2157 
And it will slightly dome your penny like so…

IMG_2161 
3. Next polish up your penny with the metal polish and a soft cloth.  Drill two small holes into the sides of Abraham’s head for the button holes using an electric drill and a small bit made for metal.

IMG_2162

Thursday, February 10, 2011

STAMPED SPOONS


Xmas 2010 ornament - antique spoon

Xmas 2010 ornament - antique spoon
zoom
Xmas 2010 ornament - antique spoonXmas 2010 ornament - antique spoonXmas 2010 ornament - antique spoonXmas 2010 ornament - antique spoonXmas 2010 ornament - antique spoon

Monday, February 7, 2011

Cards with vintage photos


A few more vintage Valentines . . .

Sharing a few more vintage Valentine inspirations for Vintage Inspiration Friday.
Aren't these just the sweetest images of children. Some are from the Graphic Fairy
and other free image blog sites.

 A Victorian banner with vintage sheet music hearts,
sweet little girl pics, German glass glitter, and vintage lace


 These little baby pics were so precious; I just had to give them angel wings


and adorned them with vintage lace corners and attached to old card stock;
and now they're ready to be attached to a gift

Saturday, February 5, 2011


MONDAY, JANUARY 24, 2011

faux metallic letter tutorial.


i'm all about using my painting powers for good and not evil (aka, nice "finishes", and not cheesy sponge-painting techniques), and today i thought i'd share a short tutorial on how to get a "metallic" look with paint. and it's so easy, trust me.

we've all seen the great zinc letters at anthropologie that are priced between $18-98/per letter. not bad if you are buying one, but bad if you are wanting to spell something out. anyway, i bought some cardboard letters at hobby lobby for around $2 each. they looked like this to begin with:

here are my supplies, along with a chip brush (the cheap-o brushes that are around one dollar at the craft store or home improvement store) and a paper towel:
Photobucket
black craft paint and folk art "pearl" paint. it works much better for silvery metallic finishes than the silver paint does!

first, i painted them both black as a base coat, then let them dry:
Photobucket

then, i did a super-quick dry brush of the pearly paint on top of the black. that means that i dipped a dry paint brush into a tiny bit of the pearl paint, and just kind of smudged it on. it's not rocket science...you just dab it on, then smear it around until it looks "right". you can also rub it off and around with the paper towel.

Photobucket

Photobucket

if you do an up-and-down motion with your brush, it looks more like aluminum.

and, you're done! so easy. you could do this with lots of different items, too. picture frames, boxes, etc. i started with these letters, just because i wanted to play around with this metallic finish and make sure it was "do-able", but now the options are endless...

Photobucket

Stenciled wall large graphics


When I first took over the front office, I knew I wanted to make it a lighter, more inspiring room to be in.  I thought about painting stripes because I really do love them, but I already have some thick ones painted in the boys’ room. Then I thought wallpaper would be nice. But here’s the thing about wallpaper: 1. I always like the most expensive one and 2. putting it up is a pain {although now that I think about it, it would probably be easier to hang wallpaper than to paint it. Oh well.}
So I decided that instead of looking for bargain wallpaper, I could just make my own.   I really like these curtains from Ballard Designs and decided to take the pattern as my inspiration.
image
Here are the steps:
1. Create a template {or download mine at the end of the post}
2. Trace the design onto the wall. Over and over again. Now it makes a lot of sense to use a level to make sure you are not drawing diagonally down the wall, but I didn’t go to such effort. I think I have a pretty good sense of straight {if that makes sense} so I was able to eyeball it.
IMG_3877
No, Brady did not help me trace the pattern, he was just my model.
IMG_3876
Check out those sweet grubby little four-year-old fingernails.
There were sections where the pattern got a little wonky, so I just improvised and figured once the entire pattern was up, you wouldn’t notice little imperfections.  The one thing I did try to do was to keep the pattern equal along the top & bottom of the wall {see photo}
wall
3. Paint over the lines {I painted along the inside of the line}.  I used a small paint brush that was the width that I wanted the lines to be and white latex paint we had leftover from the kitchen.
IMG_4384
IMG_4383
IMG_4379
It takes a long time. But if you try it, just keep going … it is so worth it!
IMG_2276 
IMG_2277
IMG_2335
Here it is again in it’s ‘after’ state.
officeentrynew