Making Hypertufa Pots

.
*Today I am sharing my guest post that was posted last week over at Remodelaholic..
I made these hypertufa pots after seeing this article in the March 2010 issue of Martha Stewart Living Magazine. My Mom and I made hypertufa pots a few years ago using a similar method. They were larger than these and not quite as cool! When I saw this article I knew I had to try again. It's actually a pretty easy project.
.

.
Supplies you will need:
- Various containers. You can use almost anything but I collected plastic and cardboard containers. I also used metal but it didn't work for me (more on that later!).
- Peat Moss
- Perlite
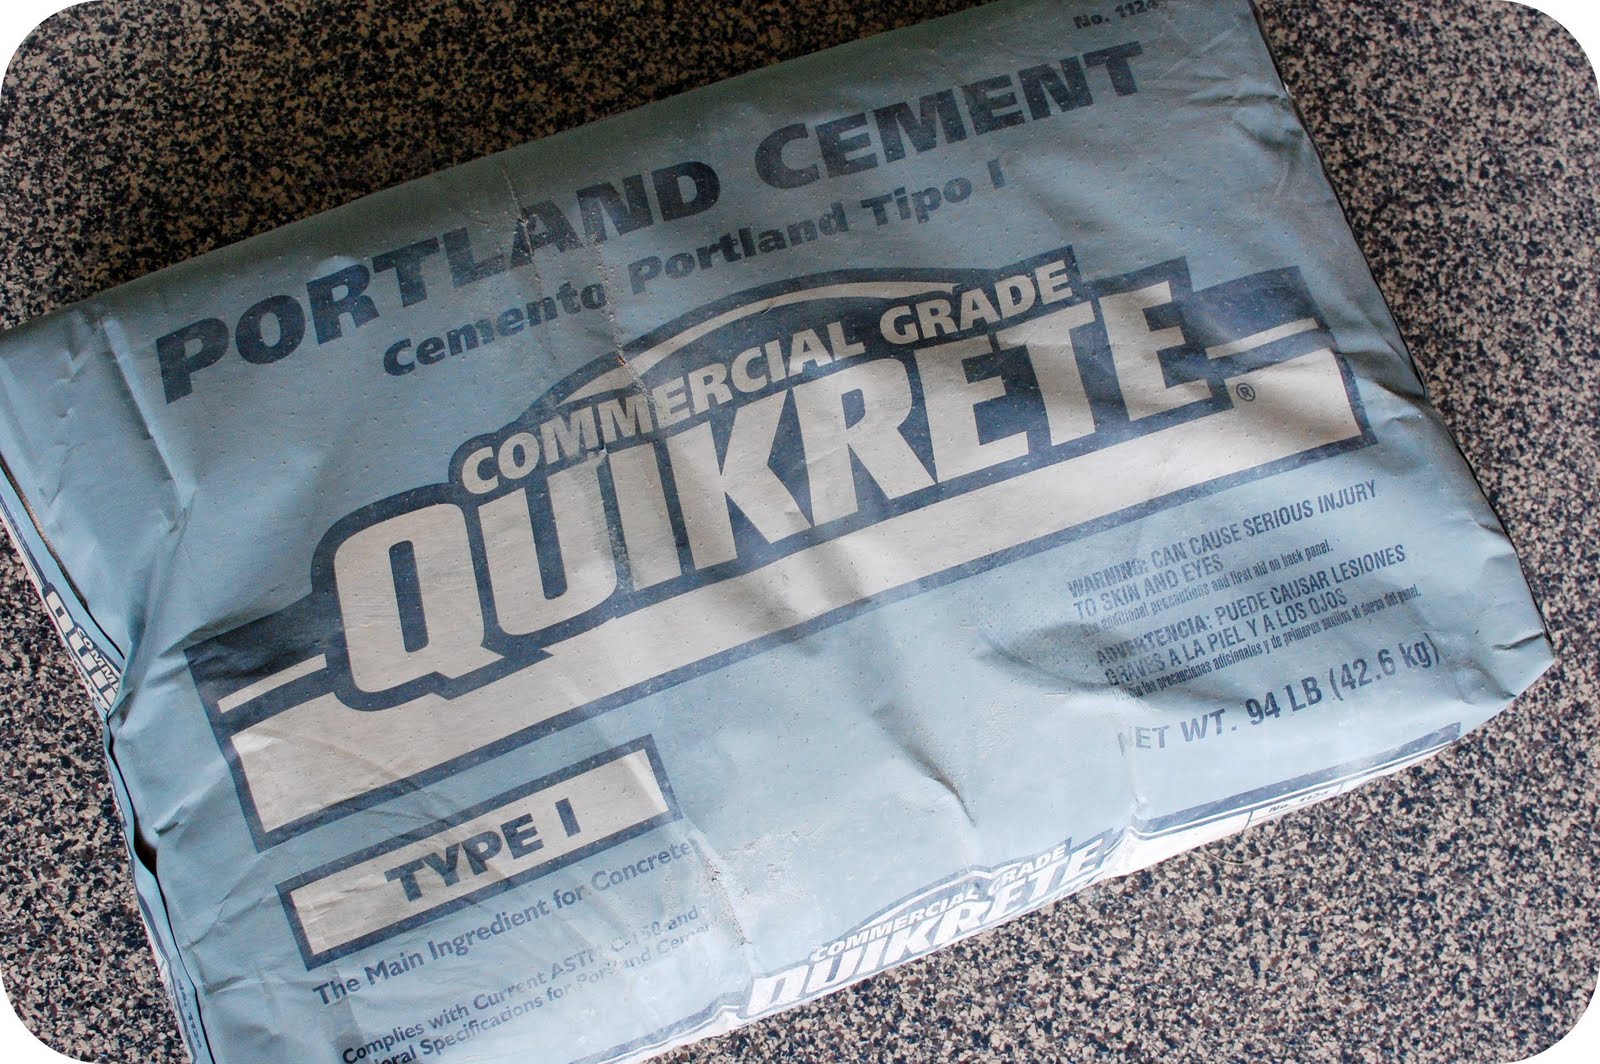
- Portland Cement
- Mold Release Spray (I ended up using a no-stick cooking spray after researching online.)
.

.
.

.
The perlite, portland cement, and peat moss are all readily available at Home Depot or Lowes. Make sure that you use real portland cement and not a quick-set material. Also, you want to use peat moss that is finely ground and not in large pieces.
.

.
In order to make your mold you will need to nest two containers together. Both should have sides that are straight or taper out and make sure that there is a gap of at least 3/4 between them.
.
Mix together equal parts perlite, peat moss and portland cement in a large container. The amount you use of each does not matter as long as they are equal parts. I used 2 quarts of each. A wheelbarrow would be great to use for mixing, but I don't have one so I used an old rubbermaid container.
.
Make sure you wear gloves!
.

.
Slowly begin to add water and mix until mixture is the consistency of cottage cheese.
.

.
Coat containers with mold release spray. Pour mixture into the outer mold until it is an inch thick. Add the inner container and start adding mixture around all the sides. You can fill the inner mold with sand or water to steady it. Pack mixture in tightly.
.

.
This is what my containers looked like after I had added the mixture.
.
Cover the containers with plastic. After 24 hours remove the inner mold. Replace plastic. After 36 hours remove outer mold. This is where I had a little trouble. I was able to easily remove the plastic and cardboard containers. But the one metal container I used would not come off. I guess I should have followed directions and used mold release spray. Stick with cardboard and plastic and you won't have any trouble!
.
After removing molds, you can drill holes using a masonry bit in the bottom of the container for drainage. Also, use a planer file or sand paper to smooth out any rough edges.
.
Recover containers with plastic and let sit for several weeks in order to finish curing.
.
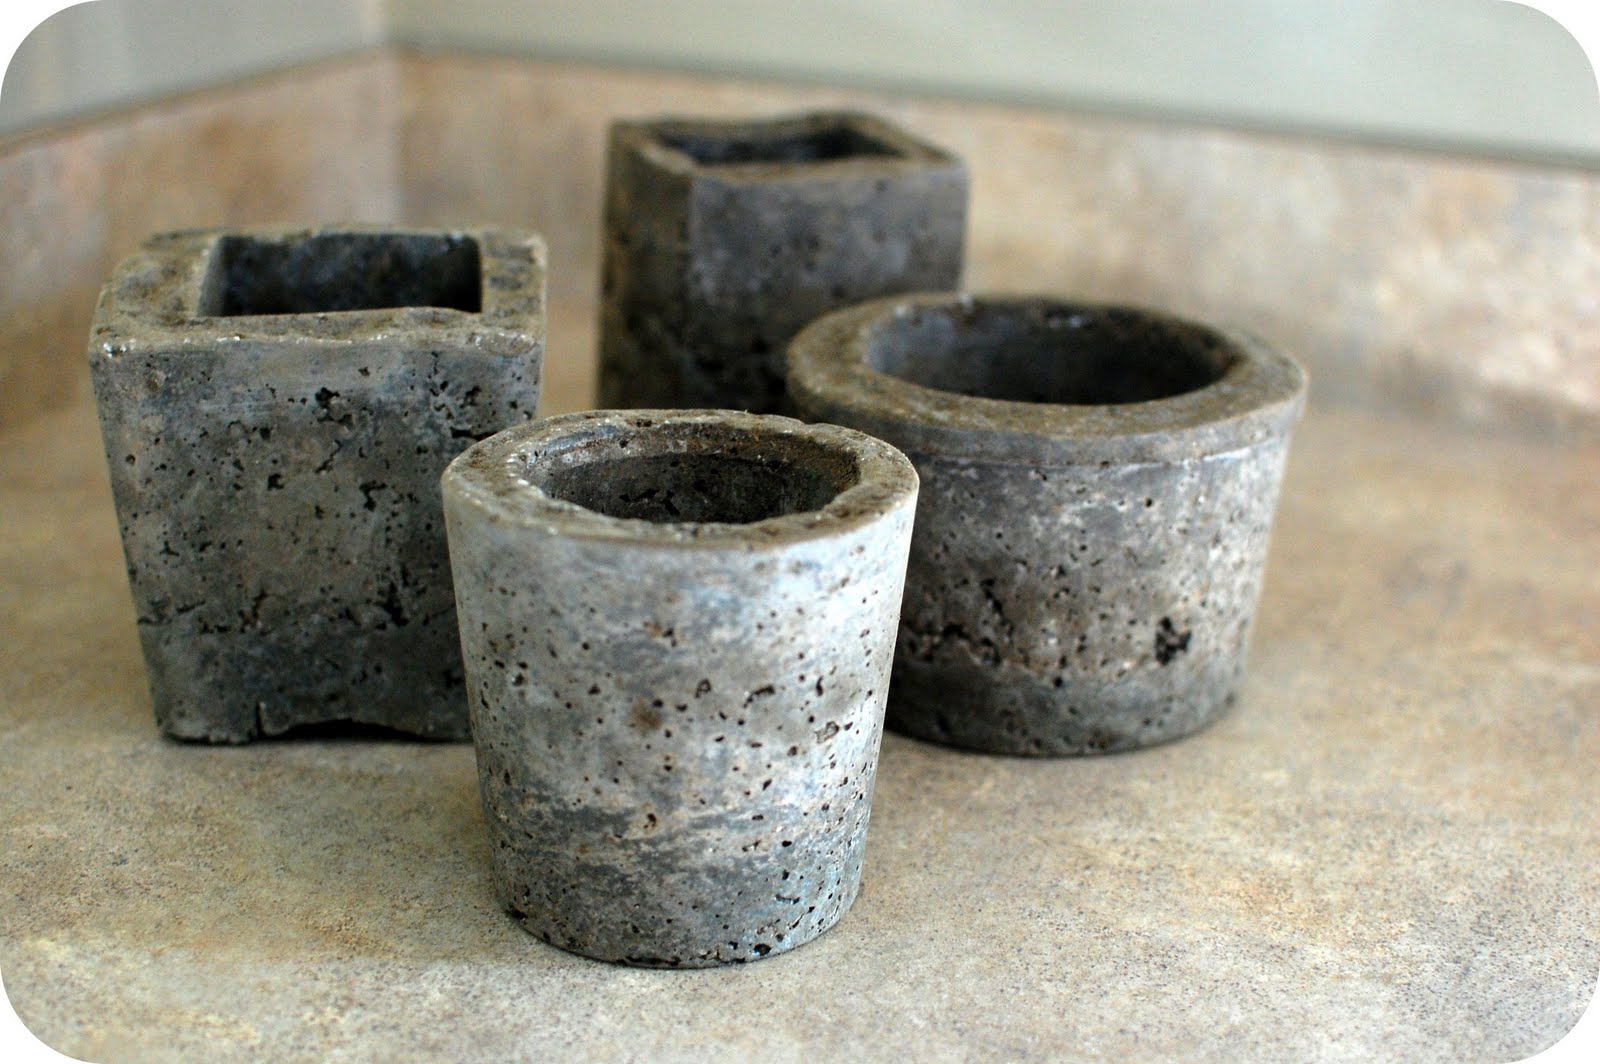
Finally, your pots will be finished!
.
.
Aren't they cool?
.

.
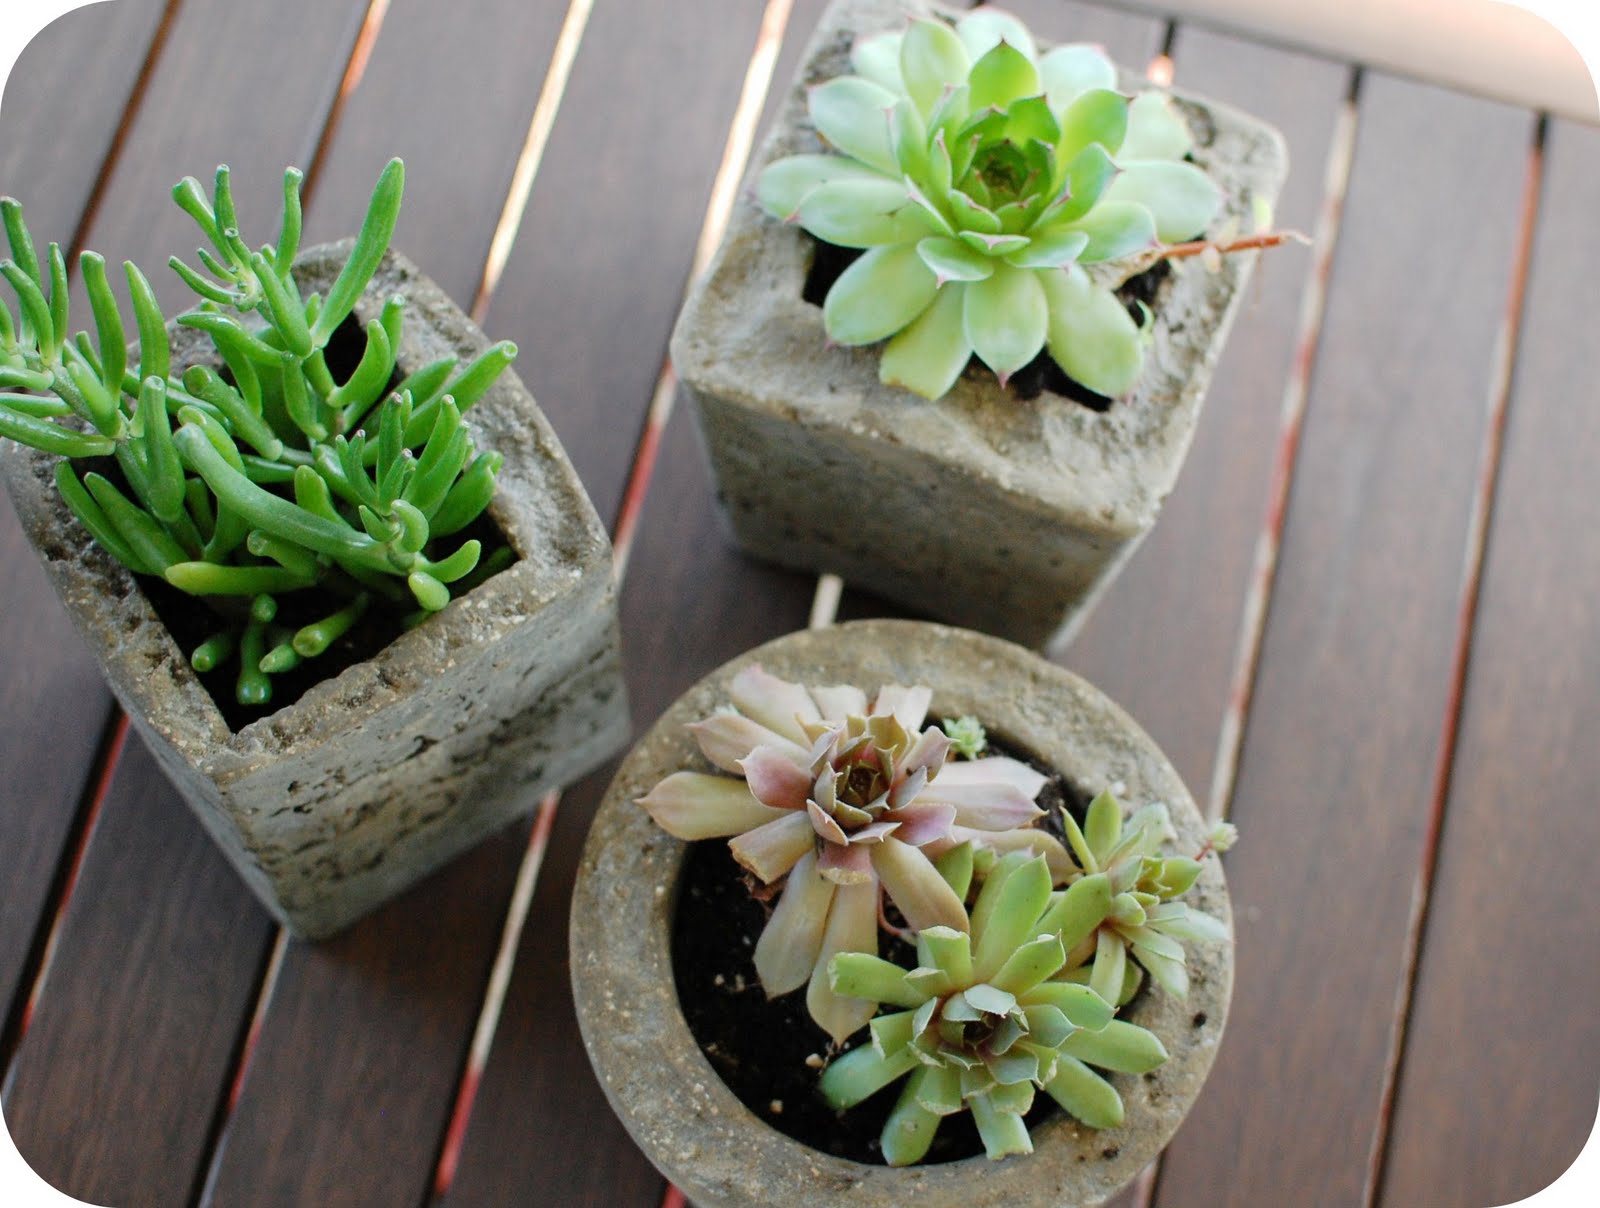
I planted with succulents and placed the pots in my screen porch.
.

.

.

.
.

.
I am just thrilled with these little pots. I love how they turned out!
.
No comments:
Post a Comment